Verify your account and activate for Live Events
To make your account free from live streaming restrictions; you need to get it verified. Verification is done so that your identity can be justified to avoid spam or abusive videos upload. Below are the steps to verify your account and activate live streaming tool.
- Step 1: Sign in to your YouTube account. Create if you do not have one.
- Step 2: Click the camera plus sign icon, and select “Go Live.”
- Step 3: You can verify your YouTube channel by choosing one of the provided options. The options are like whether you would like to receive a onetime text or phone call. Enter your phone number.
- Step 4: Type the one-time code that you receive.
- Step 5: It will take 24 hours to get live streaming activated on your YouTube channel. Once it activated, you are ready to have your first live stream!
Well a verified account has one more pretty good advantage i.e you can upload a video of more than 15 minutes from a verified account.
Bringing a Live Program on YouTube
Follow the steps bellow to create a Live Event on the beta version of YouTube Studio:
- Step 1: Sign-in to your YouTube account where you have already activated live streaming. Click on the camera plus icon and ‘Go Live’.
- Step 2: Then after you need to enter the details like ‘Title for the Live Event’, Date you want to go live and to keep your event listed or unlisted. You need to enter all the basic info, Streaming detail before going Live.
- Step 3: Once you Click Next, you will be asked to take a picture for your thumbnail. You can upload any image since you have created your Live Event.
- Step 4: Hit the Share option. And you successfully uploaded your live event on YouTube. You can copy the link that appeared. This is the link you can use for sharing your video on other social platforms.
That’s all. Now you can live stream on your YouTube beta version on your own.
How to activate YouTube on Roku
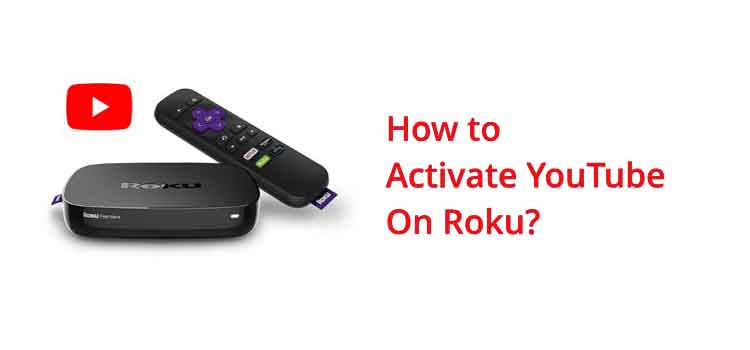
Below mentioned are the steps to activate YouTube on Roku by making use of youtube.com/activate.
- Connect your Roku Device to a Wi-Fi network so that it can have an access to internet. Once connected, sign-in to your Roku account. If you do not have a Roku account; create one. This will just take couple of minutes.
- Press the Home button on the device remote. This will lead you to the Home page of Roku.
- Go to the Channel Store and Press OK button on the remote to continue.
- Check the list of ‘Top Free’ apps and search for YouTube. Hit the YouTube from the list.
- Afterwards from the menu, click ‘Add Channel’ button. This will add YouTube to your Roku channels. This may take a while to add YouTube to Roku channels.
- Once the YouTube is added; go to ‘My Channels’ and look for YouTube. Click to open
- Now, go to the top-right of the window and choose Sign In from the Gear menu.
- Roku sometimes asks you to enter your Google username and password. Enter the credentials in the fields provided.
- Upon logging-in you will be offered with an 8-digit code on the screen. Stay on the screen as you will be needing this code further to complete the activation process; also, you can copy the code
- On some other device say computer/laptop/smartphone visit the website youtube.com/activate and sign in with your google credentials
- Now at this step you will be using the 8-digit code you received from the YouTube app on Roku, you have to enter the 8-digit code in the space provided.
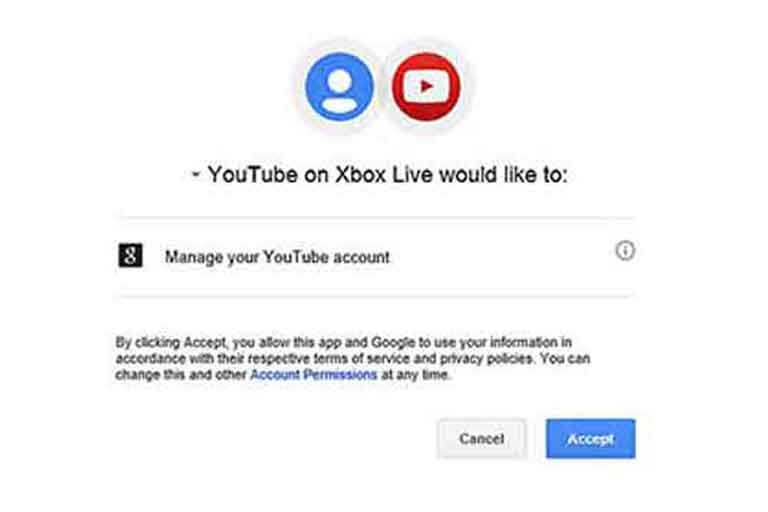
- Click on to ‘Allow Access’, by which the YouTube app will be activated.
This one –time process may take a while to complete as you need to download the YouTube on Roku device as well. But then you will be able to stream your favorite YouTube content via Roku with ease.
Happy Streaming!!!


Leave a Comment
Your email address will not be published. Required fields are marked *